How to Use Visual Similarity
Audience: Archivists — people using Zeuge's visual similarity tool to identify near-duplicates and related photos.
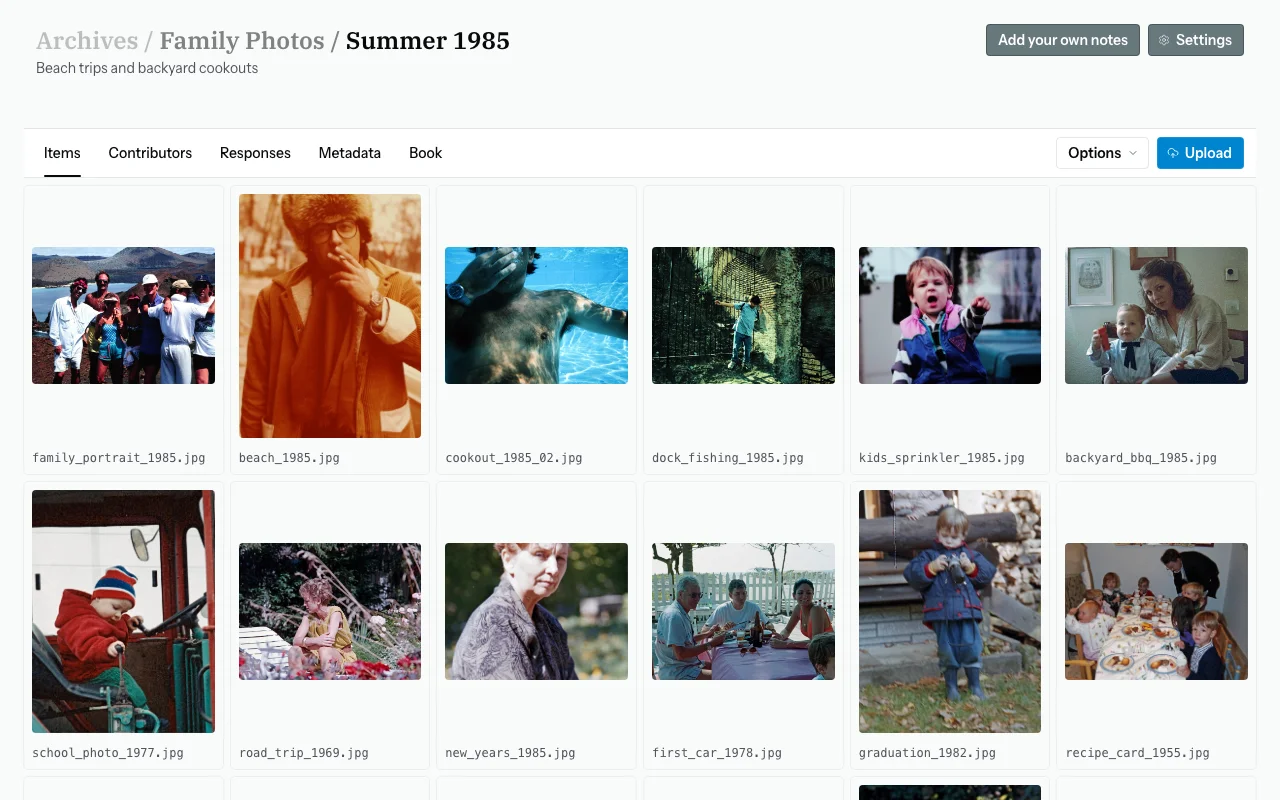
The Visual Similarity tool analyzes every item in your batch and groups photos that look alike — duplicate scans, sequential shots from the same moment, or photos from the same event. This helps you quickly spot items that could be merged, reordered, or deduplicated before export.
Requirements
Visual similarity analysis is available on paid plans only. If you're on the Free tier, you will see a prompt to upgrade. View plan details →
Step 1 — Open the Visual Similarity Panel
From your batch detail page, click the "Similarity" tab, or navigate to it from the batch progression stepper.
Step 2 — Run the Analysis
Click "Run Visual Similarity". The analysis runs in the background — typically 1–5 minutes depending on batch size. A progress indicator shows the current state.
Tip: You don't have to wait on this page. Navigate away and come back — the results will be waiting.
Step 3 — Review Similarity Groups
Once complete, the panel shows similarity groups — clusters of photos that look similar to each other.
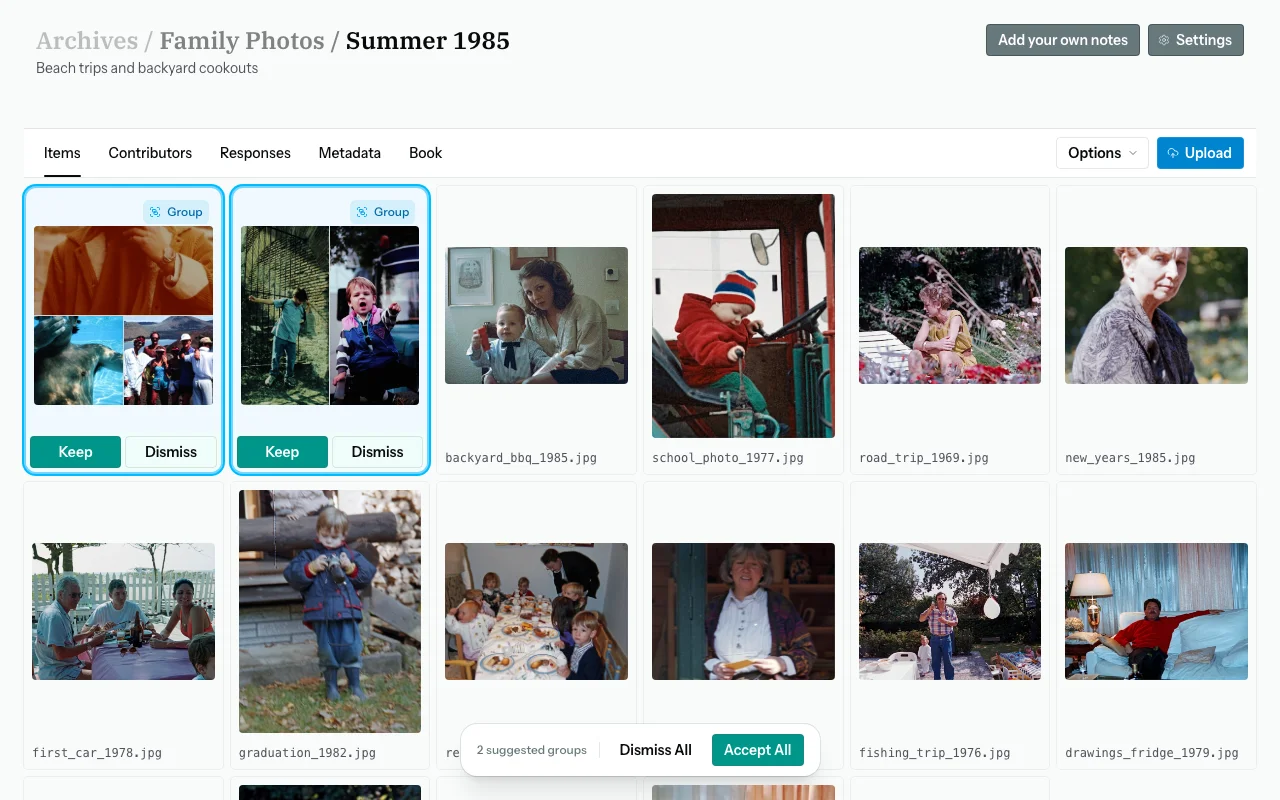
Each group displays:
- Thumbnail previews of all photos in the group
- A similarity score — how alike the photos are (higher = more similar)
- A count of photos in the group
Step 4 — Inspect a Group
Click a group to expand it and see full thumbnails. You can:
- Identify which are true duplicates (e.g., same photo scanned twice)
- Spot sequential photos from the same moment
- See if different contributors submitted similar images
Step 5 — Act on Duplicates
From the similarity view, you can click through to each item to view it in the Items tab. From there:
- Delete true duplicates — keep the sharpest or highest-quality scan
- Reorder related photos — drag sequential shots next to each other in the Items grid
- Review metadata — check whether extracted metadata differs between near-duplicates and consolidate in the Metadata tab
Note: Deleting an item permanently removes it along with any responses and metadata linked to it. This cannot be undone.
Re-Running After Changes
If you add new items or delete duplicates, you can re-run the analysis to get updated similarity groups. Click "Re-run Analysis".
How Does It Work?
Zeuge embeds each photo into a visual vector and clusters photos whose vectors are close together. This is purely visual — it compares pixel-level features, not filenames or EXIF metadata. Photos can look similar even if they have completely different metadata.
For a deeper explanation, see the Processing Pipeline reference.
Common Questions
The similarity score is low but the photos look identical to me.
Minor differences in scan angle, brightness, or crop can lower the score. Trust your eyes over the score. If they look like duplicates, treat them as duplicates.
My batch has 500+ items. Will it still run?
Yes, but it may take longer. Large batches (hundreds of items) can take 5–10 minutes. The processing is done server-side — you can navigate away.
Can I use visual similarity without paying?
No — it's a paid feature. Upgrade your plan to access it.
The tool shows photos that aren't really similar.
At lower similarity scores, some false positives appear. Increasing the similarity threshold (if that option is available) filters these out. Otherwise, use your judgment — the tool is a guide, not a verdict.
Next Steps
→ Back to the Archivist Guide